Bringing Your Backyard Dreams to Life, That’s Our Specialty!
Your backyard should mirror your personal style and how you love to live. Whether you envision a peaceful retreat or a lively entertainment space, we’re here to make that transformation happen just as you imagine.
OUR PROCESS
From start to finish, Mirage Custom Pools works only with the best in the industry to bring your backyard landscaping from the blueprints to life.
Mirage Custom Pools prides itself on a seamless and personalized approach to bringing your dream outdoor oasis to life. Our process begins with a detailed consultation where one of our experienced designers collaborates with you to understand your vision, preferences, and the unique aspects of your property. This initial meeting sets the foundation for a custom pool design that not only meets your expectations but exceeds them in both beauty and functionality.
Following the consultation, our team meticulously plans every aspect of your project, from selecting the perfect materials to outlining the construction timeline. We believe in transparency and communication, keeping you informed and involved at every step. As we bring your custom pool to fruition, our commitment to quality and precision ensures that every detail is perfected. Post-construction, we provide comprehensive guidance on pool maintenance and care, ensuring your new luxury pool remains a source of joy and relaxation for years to come. At Mirage Custom Pools, we don’t just build pools; we create personal retreats tailored to your lifestyle.
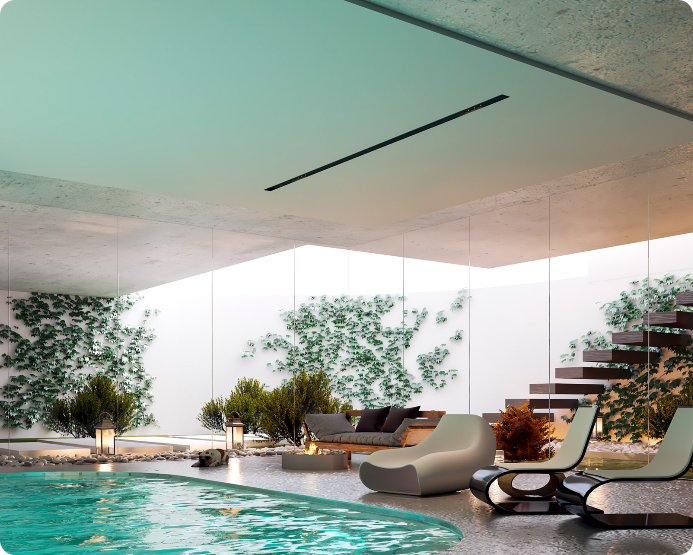
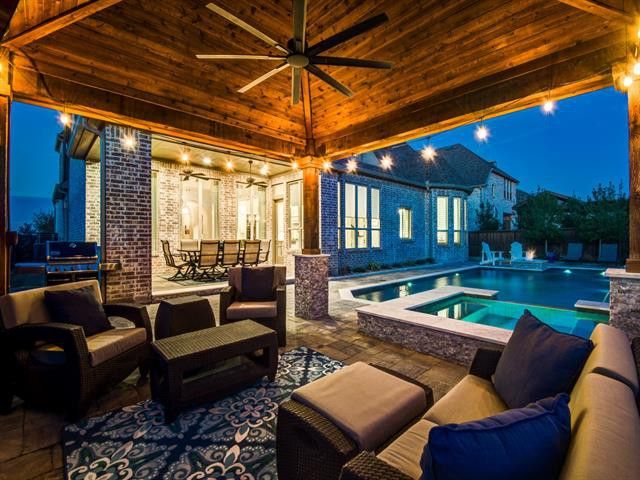
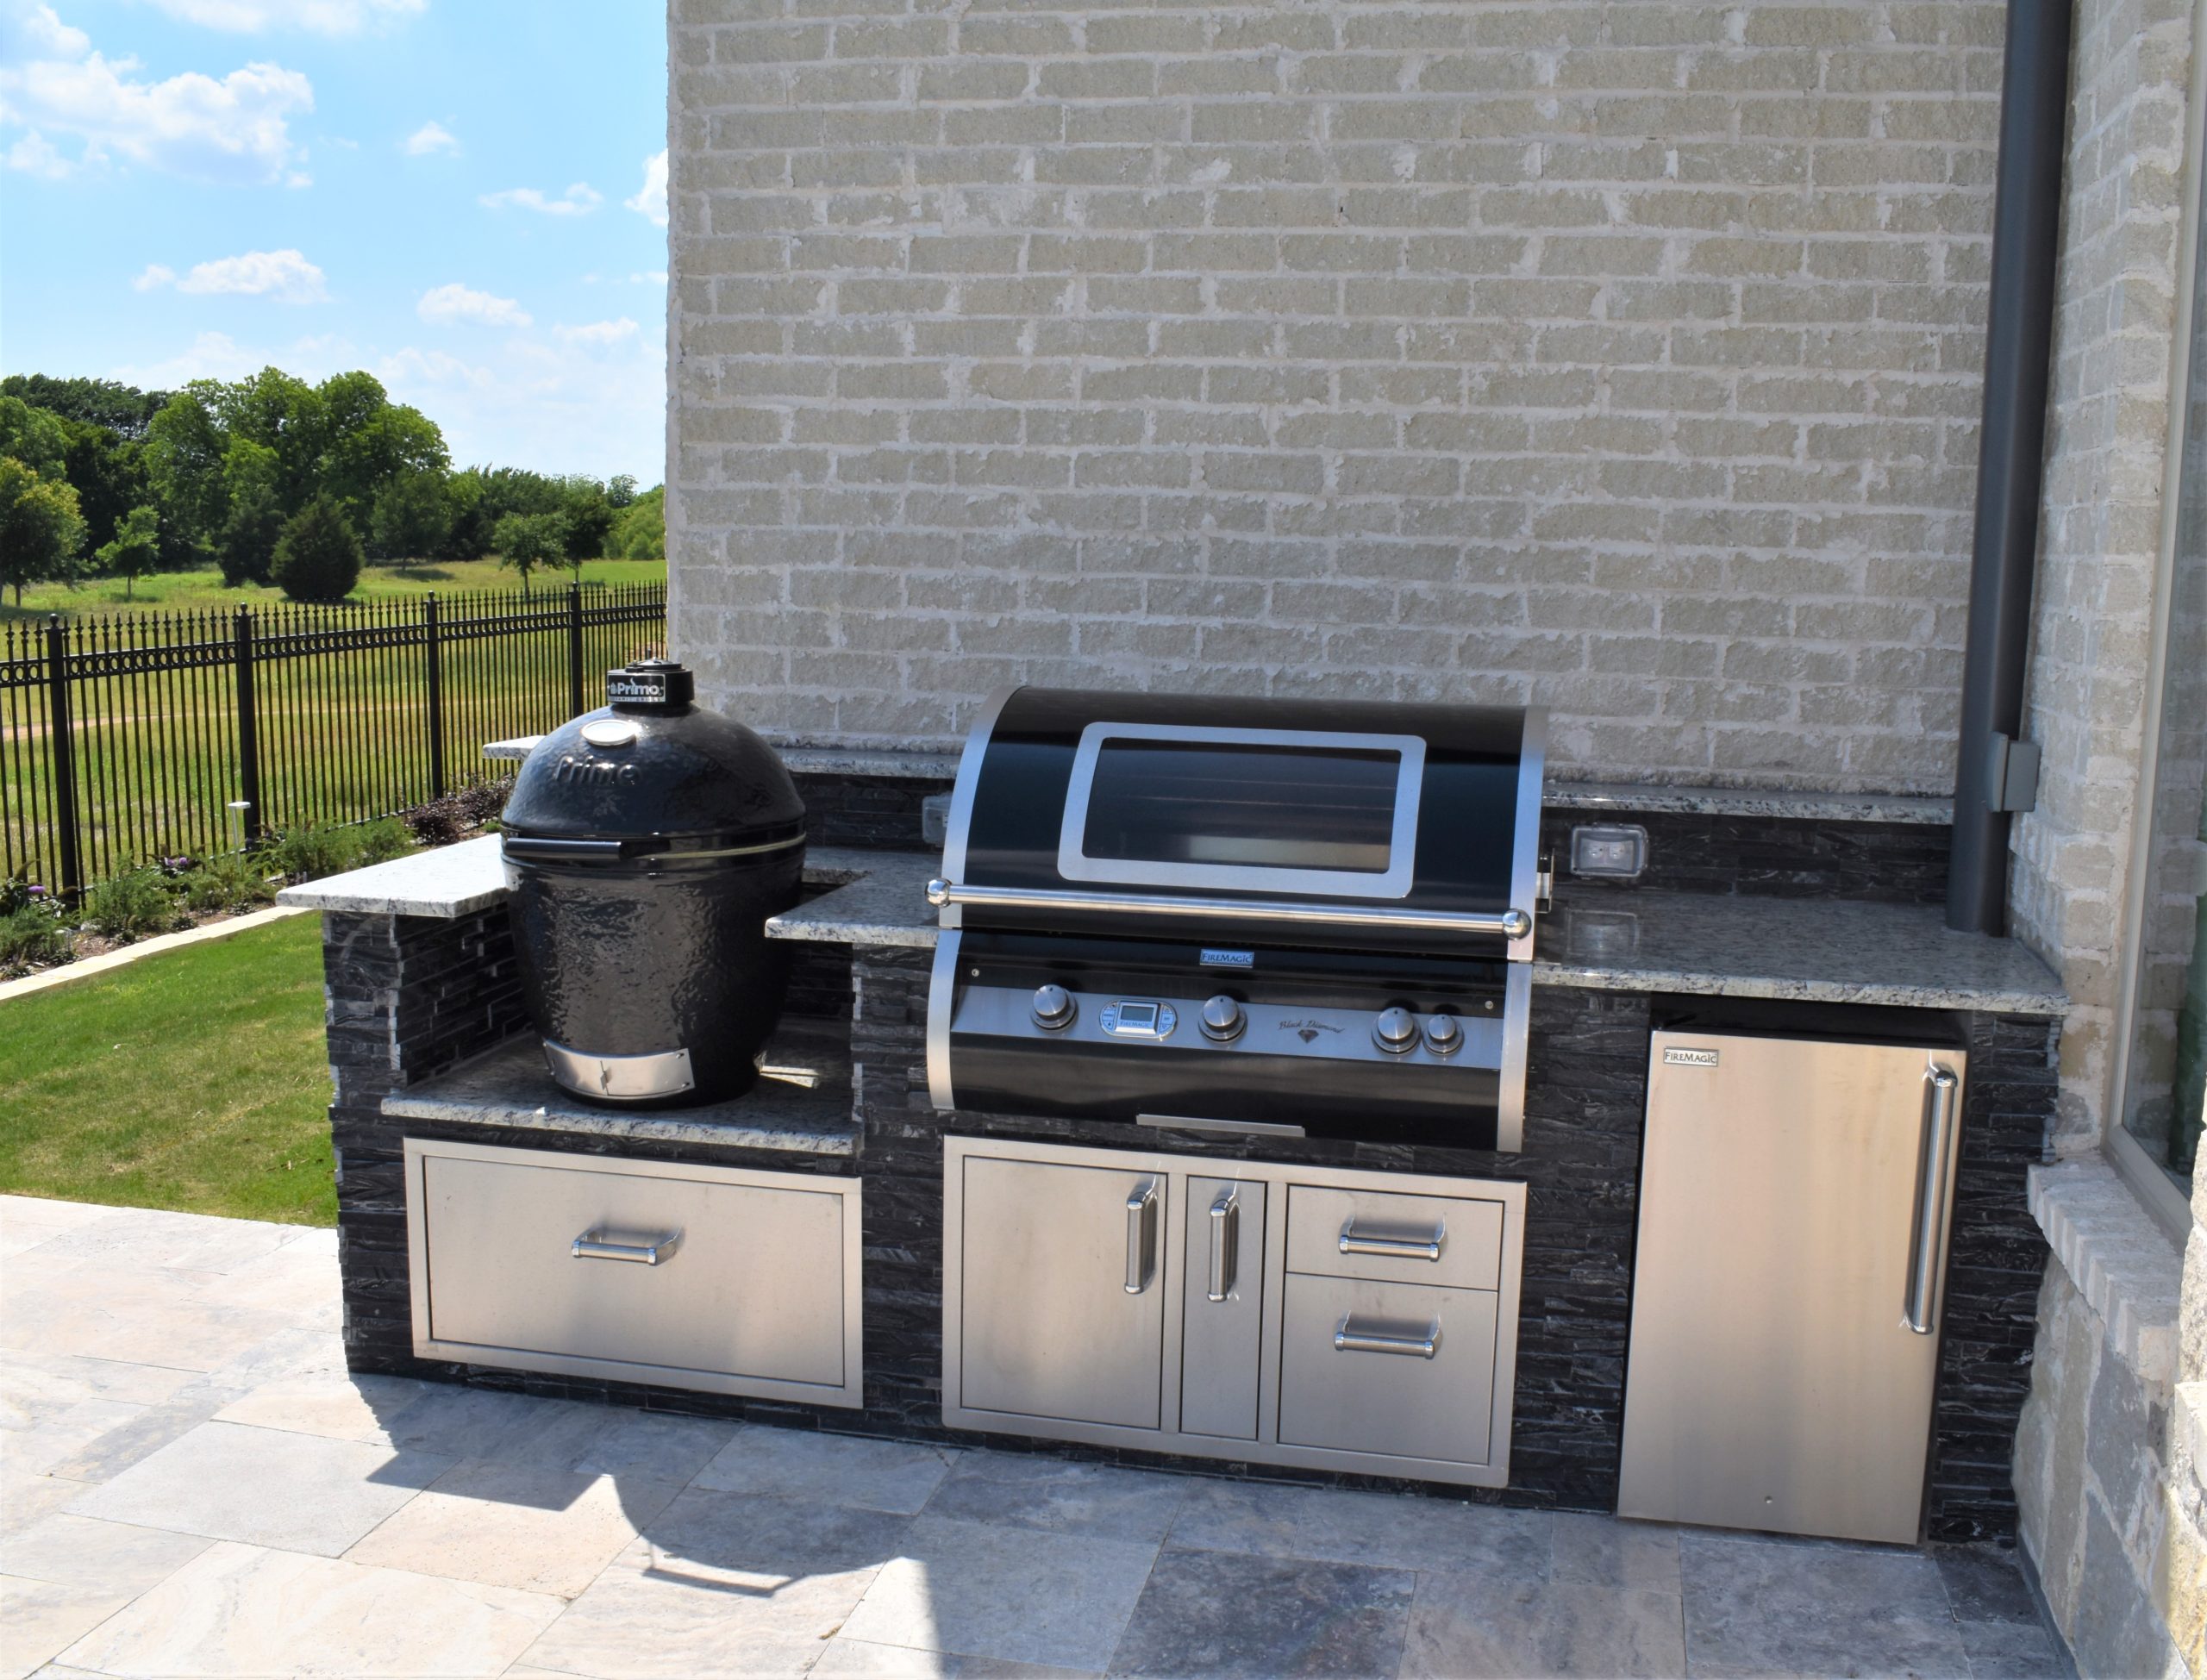
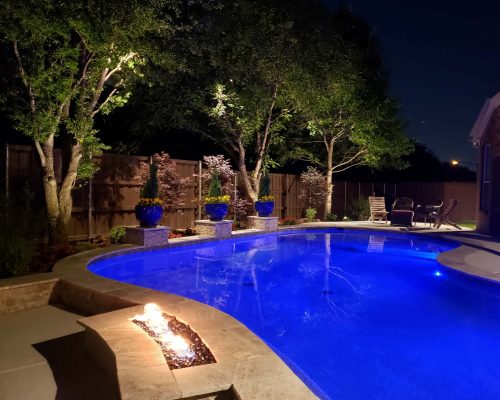
Mirage Custom Pools, based in Lewisville, Texas, is a revered leader in the design and construction of luxury custom pools and outdoor living spaces in the Dallas-Fort Worth Metroplex. With over 20 years of experience, we specialize in transforming backyard dreams into reality by creating stunning, eco-friendly, and energy-efficient swimming pools, spas, and outdoor environments tailored to each client’s unique desires. Our commitment to excellence in craftsmanship, innovative design, and unparalleled customer service has solidified our reputation as the premier custom pool builder in North Texas. Whether you’re envisioning a serene backyard retreat or a sophisticated outdoor entertainment area, Mirage Custom Pools is dedicated to delivering exceptional quality and enduring value, ensuring your outdoor space brings joy for years to come.
Featured on the television show, The American Dream!
The segment, Selling Texas, with Stacey Sauer & Brand Properties Outdoor Living in Texas, explores a stunning backyard transformation spotlighting a breathtaking contemporary custom pool with exquisite features and an outdoor living area that exudes sophistication.


")
")
")
")
")
")
")
")
")
")

")

")
")
")

")
")
")


")
")
")
")

")

")
")
")

")